Installing a garage door opener may seem intimidating, but with the right guidance, it can be simple and rewarding. This complete garage door opener installation guide covers everything from choosing the right opener to troubleshooting issues, ensuring your garage door functions smoothly and reliably.
Why Garage Door Opener Installation Matters
A properly executed garage door opener installation ensures safety, convenience, and long-term reliability. Poor installation can lead to operational issues, safety hazards, and costly repairs. By following step-by-step guidance, you’ll save time and avoid common mistakes.
Types of Garage Door Openers
Different openers are available, each suited for unique needs. Chain-drive openers are affordable and durable. Belt-drive models operate quietly, making them perfect for homes with attached garages. Screw-drive openers require less maintenance, while a side mount garage door opener saves ceiling space.
Choosing the Best Garage Door Opener
When researching the best garage door opener, factors like horsepower, noise level, smart technology, and battery backup are essential. Homeowners looking for quiet performance prefer belt-drive models, while those prioritizing strength often choose chain-drive systems. Smart openers add mobile app control for modern convenience.
Preparing for Garage Door Opener Installation
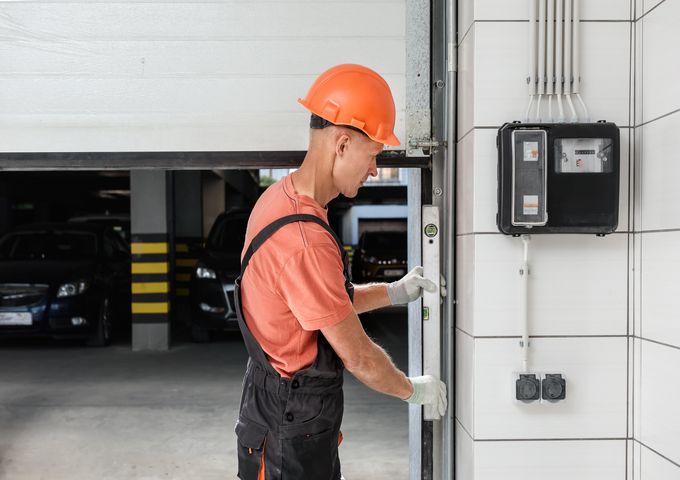
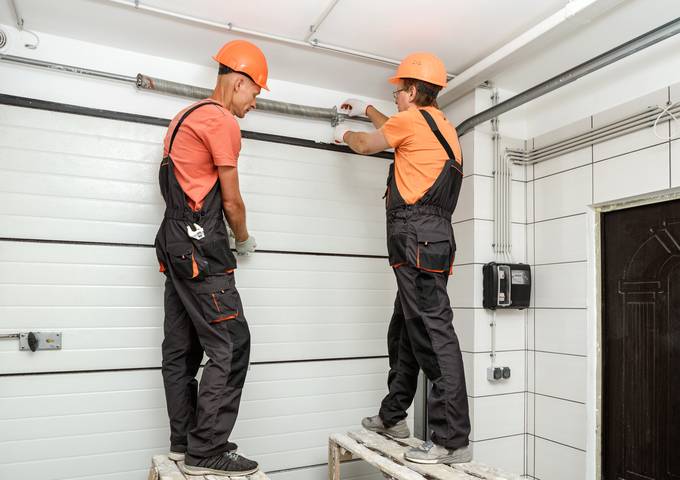
Before starting your garage door opener installation, gather necessary tools like wrenches, screwdrivers, and a ladder. Ensure the garage door is balanced and operates smoothly. Unbalanced doors put stress on openers, reducing their lifespan and performance. Preparation guarantees efficient installation.
Step-by-Step Garage Door Opener Installation

- Assemble the opener according to the manufacturer’s instructions.
- Attach the rail to the motor unit.
- Mount the opener to the ceiling or wall, depending on the type.
- Connect the chain, belt, or screw drive.
- Wire the safety sensors and control panel.
- Test and program the opener.
How to Wire a Garage Door Opener
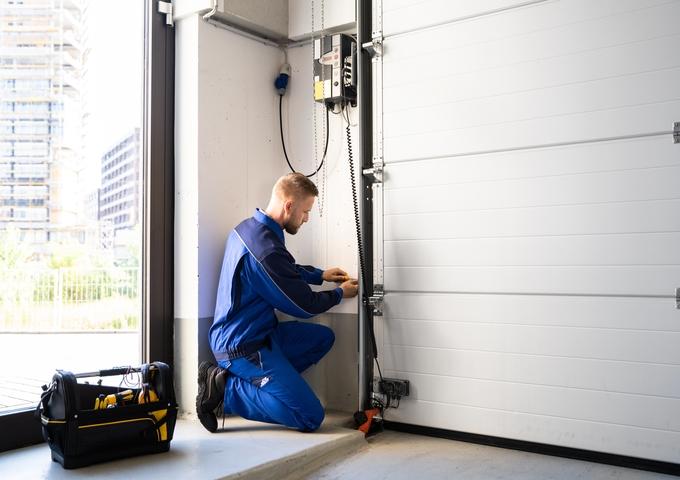
Learning how to wire a garage door opener is crucial for functionality. Typically, you’ll connect low-voltage wires from the wall switch and safety sensors to the motor unit. Always follow the manufacturer’s color-coding guide for correct and safe wiring.
How to Replace Garage Door Opener
Knowing how to replace garage door opener units saves money and time. Begin by disconnecting power, removing the old unit, and inspecting the hardware. Once clear, follow installation steps to set up your new system. This ensures seamless replacement without structural modifications.
How Long Does It Take to Install a Garage Door Opener?
If you’re wondering how long does it take to install a garage door opener, the average time is 4–6 hours. Experienced DIYers may finish faster, while first-time installers might take longer. Professional services often complete installations in about two hours.
Wall Mount Garage Door Openers
Wall mount garage door openers are installed beside the door, freeing ceiling space. They’re quieter, sleek, and ideal for garages with low ceilings. Though more expensive, they offer modern features and reduce vibrations compared to traditional ceiling-mounted models.
Garage Door Opener Installation Scottsdale

Professional garage door opener installation Scottsdale services are highly sought after due to Arizona’s demanding climate. Technicians in Scottsdale provide expert installation, ensuring your opener works efficiently in hot weather while offering warranties and maintenance plans for long-term support.
How to Reset Garage Door Opener After Power Outage
Wondering how to reset garage door opener after power outage? First, unplug the opener and wait 30 seconds. Plug it back in, then press the “learn” or “reset” button on the motor. Reprogram remotes as necessary to restore proper function.
How to Program Garage Door Opener
Learning how to program garage door opener remotes ensures smooth access. Typically, press the “learn” button on the opener, then press the button on your remote until the light blinks. This syncs the remote with the opener for convenient operation.
Garage Door Opener Battery Backup
A garage door opener battery ensures the door operates during power outages. Backup batteries usually last 1–2 days and provide several openings and closings. They’re an essential feature for households in areas prone to frequent blackouts.
Troubleshooting: Garage Door Opener Not Working
If your garage door opener not working suddenly, check the power source, remote batteries, and safety sensor alignment. Many issues stem from wiring faults or misaligned sensors. Resetting the opener often resolves temporary malfunctions without needing a full replacement.
Safety Precautions for Garage Door Opener Installation
When completing a garage door opener installation, prioritize safety. Always disconnect electricity before wiring. Wear protective gear when drilling or climbing ladders. Use proper mounting hardware to prevent falls. Following safety protocols avoids injury and property damage.
Professional vs. DIY Garage Door Opener Installation
DIY garage door opener installation can save money but requires patience and skill. Professionals guarantee precision, warranty protection, and speed. If you lack the right tools or experience, hiring experts ensures your garage door operates smoothly and safely.
Maintaining Your Garage Door Opener
Routine maintenance extends opener lifespan. Lubricate moving parts every six months, inspect sensors regularly, and replace worn-out parts. Changing the garage door opener battery as recommended keeps backup systems reliable during emergencies. Preventive care avoids costly repairs.
Common Mistakes in Garage Door Opener Installation

Rushing through garage door opener installation often leads to loose mounting, improper sensor alignment, and skipped safety tests. Following detailed instructions and checking adjustments reduces the chance of malfunctions. Patience is key to success.
Advanced Features of Modern Garage Door Openers
Today’s openers include Wi-Fi connectivity, smartphone apps, motion sensors, and voice control. Some units integrate with smart home systems. Choosing the best garage door opener with advanced features enhances convenience, safety, and efficiency for homeowners.
Signs It’s Time for Replacement
Excessive noise, frequent breakdowns, and outdated technology indicate it’s time for a replacement. If repairs cost more than half the price of a new system, upgrading to a modern model ensures better performance and reliability.
FAQs
1. Can I install a garage door opener by myself?
Yes, a skilled DIYer can handle garage door opener installation in about 4–6 hours. However, professional installation ensures safety and precision.
2. How much does garage door opener installation cost?
The average cost ranges from $250 to $500, including labor and materials. Prices vary depending on opener type and additional features.
3. Do I need a professional for wall-mount garage door openers?
Wall-mounted models require more expertise, so hiring a professional is recommended for safety and proper alignment.
4. How often should I replace my garage door opener?
Most openers last 10–15 years. Replacement may be necessary sooner if performance declines or technology becomes outdated.
5. Why is my garage door opener not working after a storm?
Power surges often damage electronics. Resetting the opener, replacing the battery, or calling a technician may resolve the issue.
Conclusion
A successful garage door opener installation improves safety, convenience, and home value. Whether choosing a traditional chain drive or a modern side mount garage door opener, proper setup and maintenance are crucial. With the right approach, your opener will deliver years of reliable performance.

Leave a Reply