Wiring a garage door opener may seem intimidating, but it’s more straightforward than most homeowners think. Whether you’re replacing an old unit, upgrading to a new model, or learning how to wire a garage door opener without sensors, the process follows simple steps.
Why Wiring a Garage Door Opener Matters
A garage door opener is more than a convenience—it’s about safety and functionality. Proper wiring ensures the opener operates smoothly, prevents malfunctions, and extends the lifespan of your system. Learning how to wire a garage door opener also saves money on professional installation costs.
Understanding the Basics of Garage Door Opener Wiring
Before handling wires, you need to understand how the system works. A typical opener has power connections, wall switch wiring, and safety sensors. Knowing these components helps you avoid mistakes and troubleshoot easily when something doesn’t function.
Tools You’ll Need
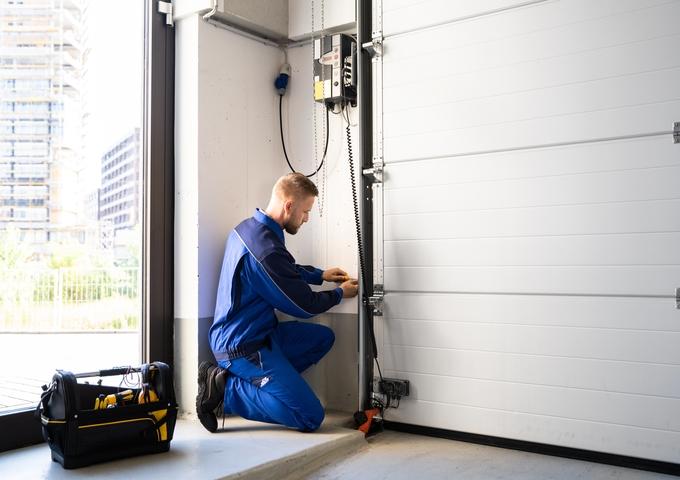
To begin, gather these essentials:
- Screwdriver set
- Wire strippers
- Electrical tape
- Ladder
- Voltage tester
- Instruction manual from your opener’s manufacturer
With the right tools, how to wire a garage door opener becomes a straightforward project.
Safety Precautions Before Wiring
Always disconnect the power supply before starting. Never attempt wiring when the garage door is open or partially lifted. Safety glasses and gloves are recommended. Taking these steps reduces the risk of electrical shocks or mechanical injuries.
Step-by-Step Guide: How to Wire a Garage Door Opener
Step 1: Mount the Opener Unit
Secure the opener to the ceiling brackets. Ensure it’s aligned with the garage door track to prevent strain.
Step 2: Connect the Power Supply
Most openers connect to a nearby outlet. If hardwiring is required, follow the manufacturer’s garage door opener wiring instructions.
Step 3: Wire the Wall Switch
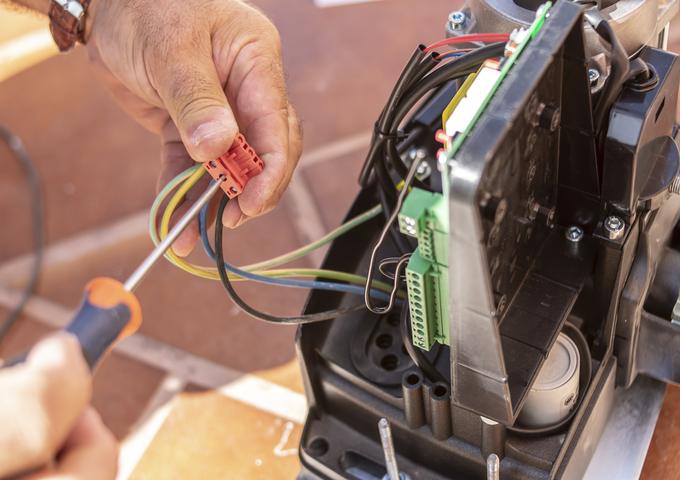
Locate the terminals on the opener. Run two low-voltage wires to the wall switch. Connect them to the corresponding screws, ensuring they’re snug and secure.
Step 4: Attach the Sensors (Optional)
Modern systems include safety sensors. If your system has them, connect wires from each sensor to the opener terminals.
Step 5: Test the Operation
Restore power and press the wall switch. The opener should activate. If not, recheck all wiring connections.
How to Wire a Garage Door Opener Without Sensors
Older systems or basic models may not include sensors. In this case, the process is even simpler. You’ll only wire the wall switch and power connection. This method is often requested by DIY homeowners searching for how to wire a garage door opener without sensors.
Reading a Garage Door Opener Wiring Diagram
A garage door opener wiring diagram shows how all wires connect. Lines represent cables, and symbols represent switches or sensors. Following the diagram ensures no miswiring, which can cause the opener to malfunction or become unsafe.
The Importance of a 4 Wire Garage Door Opener Wiring Diagram
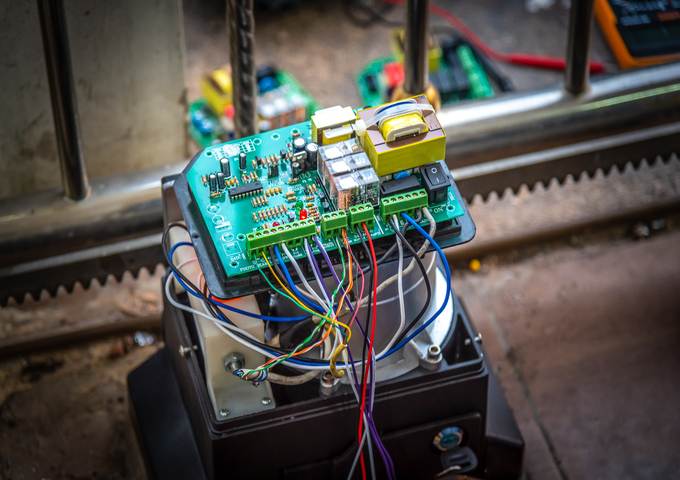
Some systems use four wires—two for the wall switch and two for sensors. A 4 wire garage door opener wiring diagram helps you distinguish connections and avoid confusion. It’s especially useful for troubleshooting when your opener isn’t responding.
Troubleshooting Common Wiring Problems
If the opener doesn’t respond:
- Check the outlet for power.
- Ensure no wires are loose.
- Confirm wall switch connections.
- Re-examine the sensor alignment.
These checks make how to wire a garage door opener less stressful.
Professional vs. DIY Installation
Hiring a professional guarantees precision, but learning how to wire a garage door opener yourself is cost-effective. With detailed instructions and patience, most homeowners can handle the task without difficulty.
Maintenance Tips After Wiring
- Inspect wires regularly for wear.
- Keep sensors free of dust.
- Test the wall switch monthly.
- Lubricate moving garage door parts.
Consistent upkeep enhances the life of your garage door opener installation.
When to Upgrade Your Wiring
If your opener frequently loses power, the wiring may be outdated. Frayed wires or repeated malfunctions indicate the need for rewiring or upgrading the opener entirely. This ensures smooth operation and safety.
Key Benefits of Wiring It Yourself
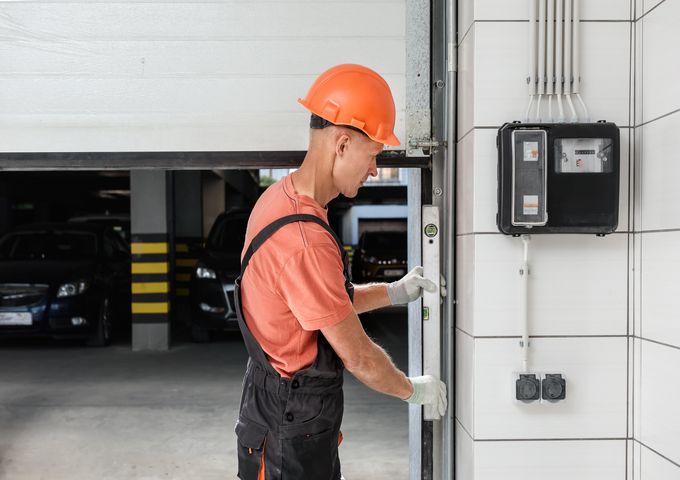
- Save money on labor costs
- Gain knowledge about your system
- Increase confidence in handling home projects
- Ensure correct setup tailored to your garage layout
Knowing how to wire a garage door opener gives you control over your garage system.
FAQs About Wiring Garage Door Openers
1. Do I need sensors to wire a garage door opener?
No. You can follow the method for how to wire a garage door opener without sensors, but keep in mind that modern safety standards recommend them.
2. Can I use any wire for my opener?
It’s best to use low-voltage, stranded wire recommended by the manufacturer. This matches the specifications in the garage door opener wiring diagram.
3. Why won’t my opener work after wiring?
Double-check the 4 wire garage door opener wiring diagram and ensure all connections are secure. Also, verify the power source.
4. How long does garage door opener installation take?
DIY garage door opener installation typically takes 3–4 hours, depending on your experience level and whether sensors are included.
5. Is it safe to wire a garage door opener myself?
Yes, if you follow safety guidelines and disconnect power before starting. For complex electrical setups, consider a licensed electrician.
Final Thoughts
Learning how to wire a garage door opener empowers homeowners to handle a vital household feature. Whether you’re wiring with sensors for safety or exploring how to wire a garage door opener without sensors, following step-by-step instructions ensures success. Use the manufacturer’s garage door opener wiring diagram or 4 wire garage door opener wiring diagram for reference. With the right approach, garage door opener installation becomes a manageable, rewarding project.
Leave a Reply