


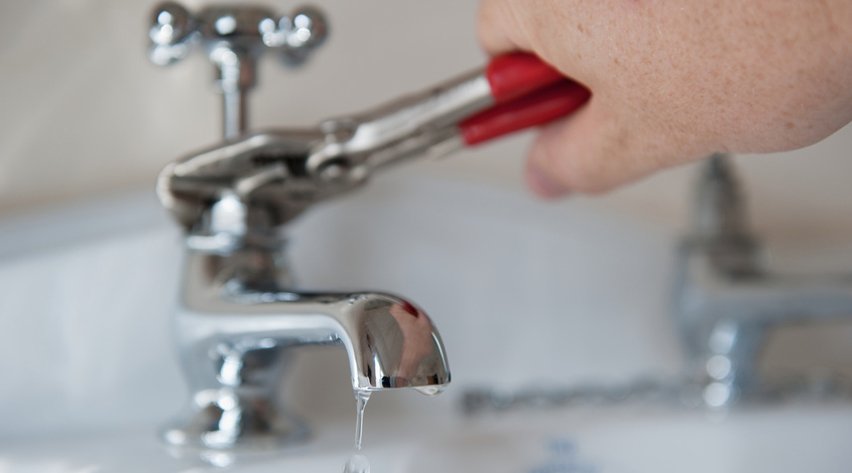
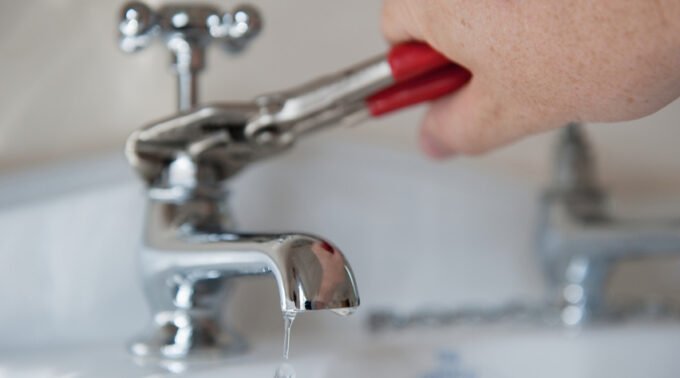
A faucet that keeps dripping after you turn it off can be frustrating. You may hear every drop at night, notice water collecting around the sink, or worry about a higher water bill. The good news is that many faucet leaks can be repaired without replacing the entire fixture.
Learning how to fix dripping faucet problems starts with identifying the source of the leak. In many cases, a worn washer, damaged cartridge, loose connection, or mineral buildup is responsible. With a few basic tools and the correct replacement part, you may be able to complete the repair yourself.
In this guide, you will learn how to identify common faucet problems, follow safe repair steps, avoid costly mistakes, and decide when professional help is necessary.
What Causes a Dripping Faucet?
Before you begin a repair, it helps to understand why the faucet is leaking. Different faucet designs use different internal parts, so identifying the cause can save time and prevent unnecessary replacements.
1. A Worn-Out Washer
Traditional compression faucets often use rubber washers to create a tight seal. Over time, these washers can become hard, cracked, or worn down.
When the seal no longer fits properly, water may continue to escape even when the handle is fully closed. Replacing the damaged washer often solves this problem.
2. A Damaged Cartridge
Many modern faucets use a cartridge to control water flow and temperature. A damaged or worn cartridge can allow water to pass through when the faucet should be off.
If your faucet has a single handle, the cartridge may be the main part to inspect. However, cartridge designs vary, so check the manufacturer’s instructions before buying a replacement.
3. Mineral Buildup
Hard water contains minerals that can collect inside faucet components. Over time, these deposits may affect seals, restrict movement, or prevent parts from closing correctly.
Cleaning removable components may help. However, if mineral buildup has damaged a seal or cartridge, cleaning alone may not stop the leak.
4. Loose or Damaged Connections
Sometimes, the water is not dripping from the spout. Instead, it may be leaking around the handle, beneath the sink, or where a supply line connects.
These problems require a different approach. A leak under the sink may come from a loose connection, worn seal, or damaged hose, so inspect the area carefully before starting repairs.
Tools You Need to Fix a Dripping Faucet
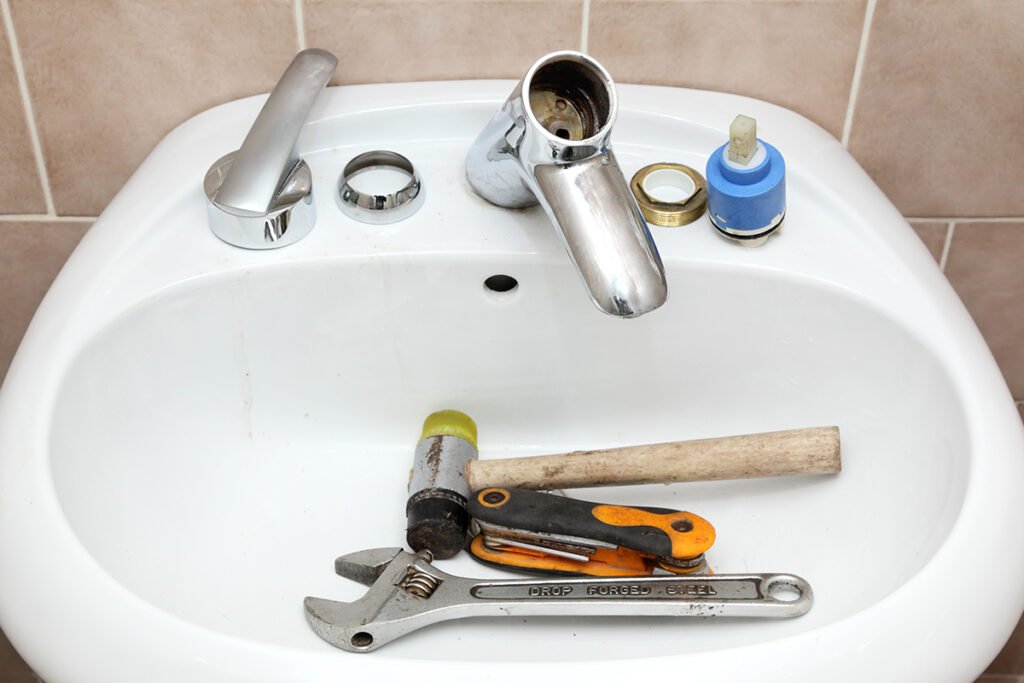
Most simple faucet repairs require only a few common tools. Gather everything before you begin so you do not have to leave the repair halfway through.
Basic tools and supplies:
- Adjustable wrench
- Screwdriver set
- Replacement washer, O-ring, or cartridge
- Soft cloth or towel
- Small bowl for screws and loose parts
- Flashlight
- Plumber’s grease approved for drinking-water plumbing, if recommended by the manufacturer
- White vinegar for certain removable mineral deposits, when suitable for the faucet materials
You may not need every item on this list. The correct replacement part depends on the faucet’s brand, model, and design.
Practical tip: Take a photo of the faucet before removing anything. Then photograph each stage of disassembly. These pictures can help you remember where every component belongs.
How to Fix Dripping Faucet Problems Step by Step
If you want to fix dripping faucet issues yourself, follow these steps carefully. The process below covers common repairs, but the exact method depends on the faucet model.
Step 1: Turn Off the Water Supply
First, locate the shutoff valves beneath the sink. Most sinks have separate valves for hot and cold water.
Turn both valves clockwise to close them, unless the valve design indicates otherwise. Next, open the faucet to release the remaining water pressure.
If there are no working shutoff valves, you may need to turn off the main water supply. Do not begin disassembly until the water is safely isolated.
Step 2: Protect the Sink and Close the Drain
Place a towel in the sink to protect the finish and prevent small parts from being scratched.
Close the drain or cover it with a drain stopper. This simple step helps keep tiny screws and washers from falling into the plumbing.
Step 3: Remove the Faucet Handle
Look for a screw holding the handle in place. It may be visible on the side or hidden beneath a decorative cap.
Use the correct screwdriver or Allen key to loosen it. Then lift the handle gently.
Avoid forcing the handle if it will not move. Mineral buildup or corrosion may be holding it in place, and excessive force can damage the faucet.
Step 4: Inspect the Internal Components
Once the handle is removed, inspect the parts you can safely access. Depending on the faucet design, you may find a cartridge, rubber washer, O-ring, retaining clip, or compression valve.
Look for obvious signs of wear, including:
- Cracked or flattened rubber seals
- Corrosion or rust
- Mineral deposits
- Damaged plastic components
- Parts that appear loose or misaligned
If you are unsure which component is responsible, check the manufacturer’s repair guide or identify the faucet model before removing additional parts.
Step 5: Replace the Damaged Part
Remove the worn component according to the manufacturer’s instructions. Take it to a plumbing supply store if you need help finding an exact match.
For a washer-style faucet, replace the damaged washer with one of the same size and type. For a cartridge faucet, use the compatible cartridge specified for that model.
Do not assume that parts that look similar are interchangeable. A poorly fitting replacement can cause another leak or damage the faucet.
Step 6: Clean and Reassemble the Faucet
Remove loose mineral deposits from compatible removable components using a suitable cleaning method. If you use vinegar, check the manufacturer’s guidance first because acidic cleaners can damage some finishes and materials.
Reassemble the faucet in the reverse order of removal. Make sure seals sit correctly and retaining clips or nuts are properly positioned.
Tighten connections securely, but do not overtighten them. Excessive force can damage threads, crack plastic parts, or distort seals.
Step 7: Turn the Water Back On and Test
Close the faucet handle, then slowly reopen the shutoff valves. Watch for leaks around the base, handle, and supply connections.
Turn the faucet on and off several times. Check whether water continues to drip from the spout after the handle is closed.
If the leak persists, turn off the water again and recheck the replacement part, its orientation, and the assembly. A continuing leak may indicate another damaged component or a repair that requires professional attention.
How to Fix a Dripping Faucet With Two Handles
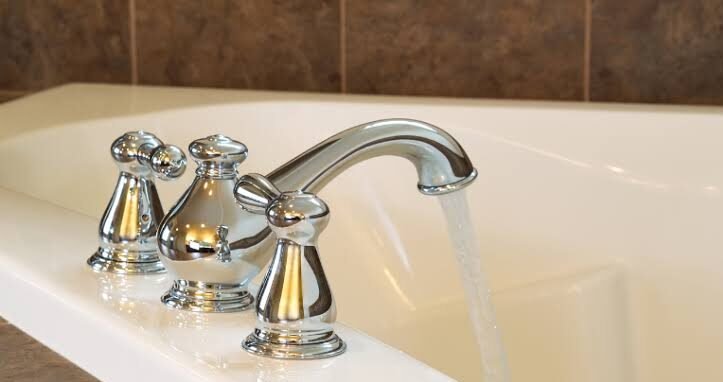
A two-handle faucet usually has separate controls for hot and cold water. The repair may involve identifying which side is leaking and replacing the appropriate internal component.
If you need to learn how to fix a dripping faucet with two handles, start by observing whether the leak continues when both handles are closed. A persistent drip can come from a worn washer, valve stem, cartridge, or seat, depending on the faucet design.
Follow these steps:
- Turn off both water supply valves.
- Open the handles to release remaining pressure.
- Remove the handle on the suspected side.
- Inspect the washer, cartridge, or valve assembly.
- Replace the damaged component with the correct part.
- Reassemble the handle and restore the water supply.
- Test both hot and cold controls for leaks.
If you cannot identify which side is responsible, inspect both sides. However, avoid replacing parts unnecessarily when the manufacturer’s repair guide can help identify the likely cause.
How to Repair a Bathroom Sink Dripping Faucet
A bathroom sink dripping faucet can be especially annoying because the sound may be noticeable in a quiet bedroom or hallway. Fortunately, the repair is often similar to fixing a kitchen faucet.
First, determine where the water is coming from. A drip from the spout usually points to an internal sealing problem, while water around the handle may indicate a worn O-ring or damaged seal.
If water appears beneath the sink, inspect the supply hoses and connections. Place a dry paper towel around each connection to help locate small leaks.
Do not ignore water that collects inside the cabinet. Even a slow leak can damage stored items, swell wooden panels, and encourage mold growth if the area stays damp.
If the faucet body is cracked or heavily corroded, replacing the entire fixture may be more practical than repairing individual components.
How to Stop a Dripping Faucet When the Leak Continues
Sometimes, a faucet continues dripping even after you replace a washer or cartridge. This does not always mean you made a mistake. The leak may have more than one cause.
Check the Replacement Part
A washer or cartridge that looks similar to the original may still be the wrong size. Confirm the model number and part specifications before reinstalling it.
Inspect the Valve Seat
In some compression faucets, the valve seat can become rough or damaged. A new washer may not seal properly against a worn seat.
A plumber can assess whether the seat needs repair or replacement.
Look for Excessive Water Pressure
High water pressure can contribute to plumbing problems and put extra stress on fixtures and connections. If multiple faucets or plumbing components are leaking, consider having the water pressure checked.
Check the Faucet Assembly
A displaced seal, loose retaining nut, or incorrectly installed cartridge may also cause continued dripping. Turn off the water before checking internal components again.
If you have tried the appropriate basic repairs and the faucet still leaks, a qualified plumber can identify the problem before additional parts are damaged.
How Much Water and Money Can a Dripping Faucet Waste?
A slow leak may seem harmless, but the wasted water can add up over time. The actual amount depends on the drip rate, local water charges, and whether wastewater fees are included in your bill.
For example, suppose a faucet loses one drop of water per second. If each drop is approximately 0.25 milliliters, that adds up to about 21.6 liters per day, or roughly 648 liters in 30 days.
This is an illustration, not a measurement of every faucet. Drop sizes and leak rates vary considerably.
To estimate how much does a dripping faucet cost per month, multiply the amount of water lost during the month by your local combined water and wastewater rate. If the leak is faster than one drop per second, the cost may be higher.
For a realistic estimate:
- Measure the water collected over a set period.
- Calculate the approximate daily and monthly volume.
- Check your water provider’s current rates.
- Multiply the estimated volume by the applicable charge.
Fixing a leak promptly can reduce waste. Moreover, it may prevent water damage that costs far more than the repair itself.
Does a Dripping Faucet Prevent Pipes From Freezing?
During extremely cold weather, some people leave a faucet dripping to help reduce the risk of frozen pipes. Moving water may freeze less readily than still water under certain conditions, but a dripping faucet is not a guarantee against frozen plumbing.
If you are wondering how does dripping faucet prevent freezing, the key is that a small, continuous flow can sometimes relieve pressure in vulnerable pipes and make freezing less likely. However, it does not eliminate the risk.
Follow local winter-weather guidance and consider these precautions:
- Insulate pipes in unheated areas.
- Seal gaps that allow cold air to reach plumbing.
- Keep indoor temperatures sufficiently warm.
- Open cabinet doors where pipes need more warm air circulation.
- Know where the main water shutoff is located.
If local authorities or your plumber recommend letting a faucet drip during a freeze, follow their specific instructions. Otherwise, repair ordinary faucet leaks rather than relying on them as a winter protection strategy.
When Should You Call a Professional Plumber?
DIY repairs can be effective, but some problems require specialist tools or experience.
Consider calling a plumber if:
- Water continues leaking after the correct replacement part is installed.
- The shutoff valves are stuck, damaged, or leaking.
- The faucet body is cracked or severely corroded.
- Water is leaking inside the wall or beneath the floor.
- You notice several plumbing leaks at the same time.
- The repair requires work on unfamiliar or complex plumbing connections.
A professional can also help when replacement parts are difficult to identify. In some cases, replacing an old faucet is more economical than repeatedly repairing worn components.
Common Mistakes to Avoid When Repairing a Faucet
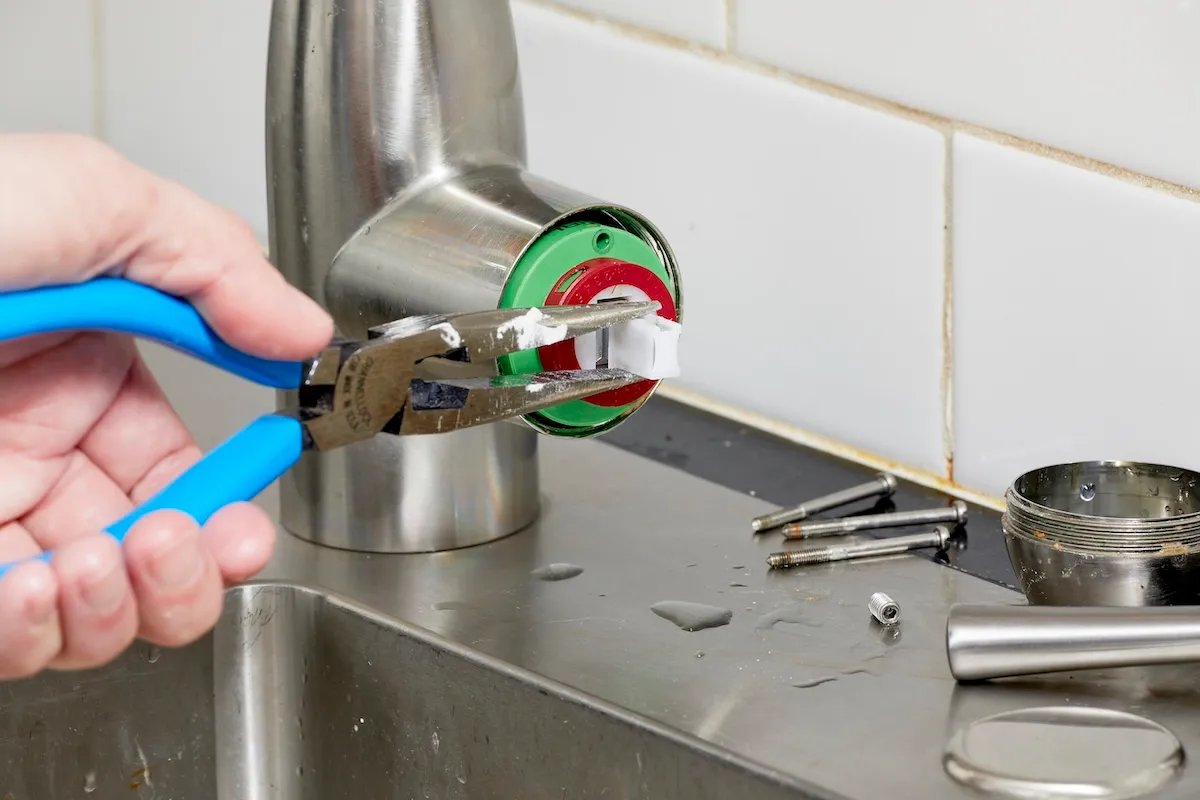
Even a straightforward repair can become more complicated if you rush. Avoid these common mistakes to protect your faucet and plumbing.
Forgetting to turn off the water: Always isolate the supply before removing internal components.
Using the wrong replacement part: Confirm the faucet model and match the part carefully.
Overtightening connections: Too much force can damage threads and seals.
Ignoring leaks beneath the sink: Water around supply lines may require a different repair than a dripping spout.
Using unsuitable cleaners: Some finishes and seals can be damaged by acidic or abrasive products.
Replacing the entire faucet too soon: A worn washer or cartridge may be all that needs attention. Inspect the fixture before deciding to replace it.
How to Prevent Future Faucet Leaks
Regular maintenance can help your faucet last longer and reduce the chance of another leak.
- Clean mineral deposits using products approved for your faucet.
- Avoid forcing handles beyond their normal range of movement.
- Check under the sink periodically for moisture.
- Replace worn seals when necessary.
- Investigate changes in water pressure or unusual faucet behavior.
- Follow the manufacturer’s care and maintenance instructions.
These habits take little time but can help you spot a problem before it becomes more expensive.
Conclusion: Fix the Leak Before It Gets Worse
Learning how to fix dripping faucet problems can help you save water, protect your sink cabinet, and avoid unnecessary plumbing costs. In many cases, a worn washer, damaged cartridge, or faulty seal is responsible.
Start by turning off the water, identifying the faucet type, and inspecting the internal components. Then replace the damaged part with a compatible component and test the faucet carefully.
However, do not force parts or ignore persistent leaks. If the repair does not work, a qualified plumber can help identify the underlying issue.
The main takeaway: A small drip is worth addressing promptly. With the right tools, a careful approach, and the correct replacement part, many common faucet leaks can be repaired safely and effectively.
Frequently Asked Questions
1. What is the most common reason a faucet drips?
A worn washer, damaged cartridge, or deteriorated seal is a common cause. The likely problem depends on the faucet’s design and where the water appears.
2. Can I fix a dripping faucet without replacing it?
Yes. Many leaks can be repaired by replacing a washer, O-ring, or cartridge. However, a cracked faucet body or badly corroded component may require a new fixture.
3. How long does it take to repair a dripping faucet?
A simple repair may take around 30–60 minutes if the correct parts are available. More complicated faucets, corroded components, or hard-to-find replacement parts can take longer.
4. Is it safe to use a faucet that keeps dripping?
The faucet may still function, but the leak should not be ignored. Persistent dripping wastes water, while leaks around the handle or beneath the sink may indicate a problem that needs prompt attention.
5. How can I learn how to stop a dripping faucet permanently?
Identify the source of the leak, install the correct replacement part, and reassemble the faucet according to the manufacturer’s instructions. If the drip continues, inspect for additional damage or contact a plumber.






1 Comment